

If you love those timelapses that make our great big world look tiny—people scurrying around Manhattan like ants, or airplanes moving around an airport like toys—this simple tutorial will teach you everything you need to know to post-process your own tiny world timelapse.
The tutorial was put together by the YouTube channel Rob & Jonas’ Filmmaking Tips, and it does a great job breaking down the process for you.
Now, obviously this isn’t an actual tilt-shift timelapse tutorial, meaning he’s not showing you how to do this by shooting with a tilt-shift lens. Instead, Rob is showing you how to replicate the so-called “tilt-shift effect”: giving you a basic overview of how you should shoot the footage for maximum effect, and then showing you the actual processing step in Final Cut Pro.
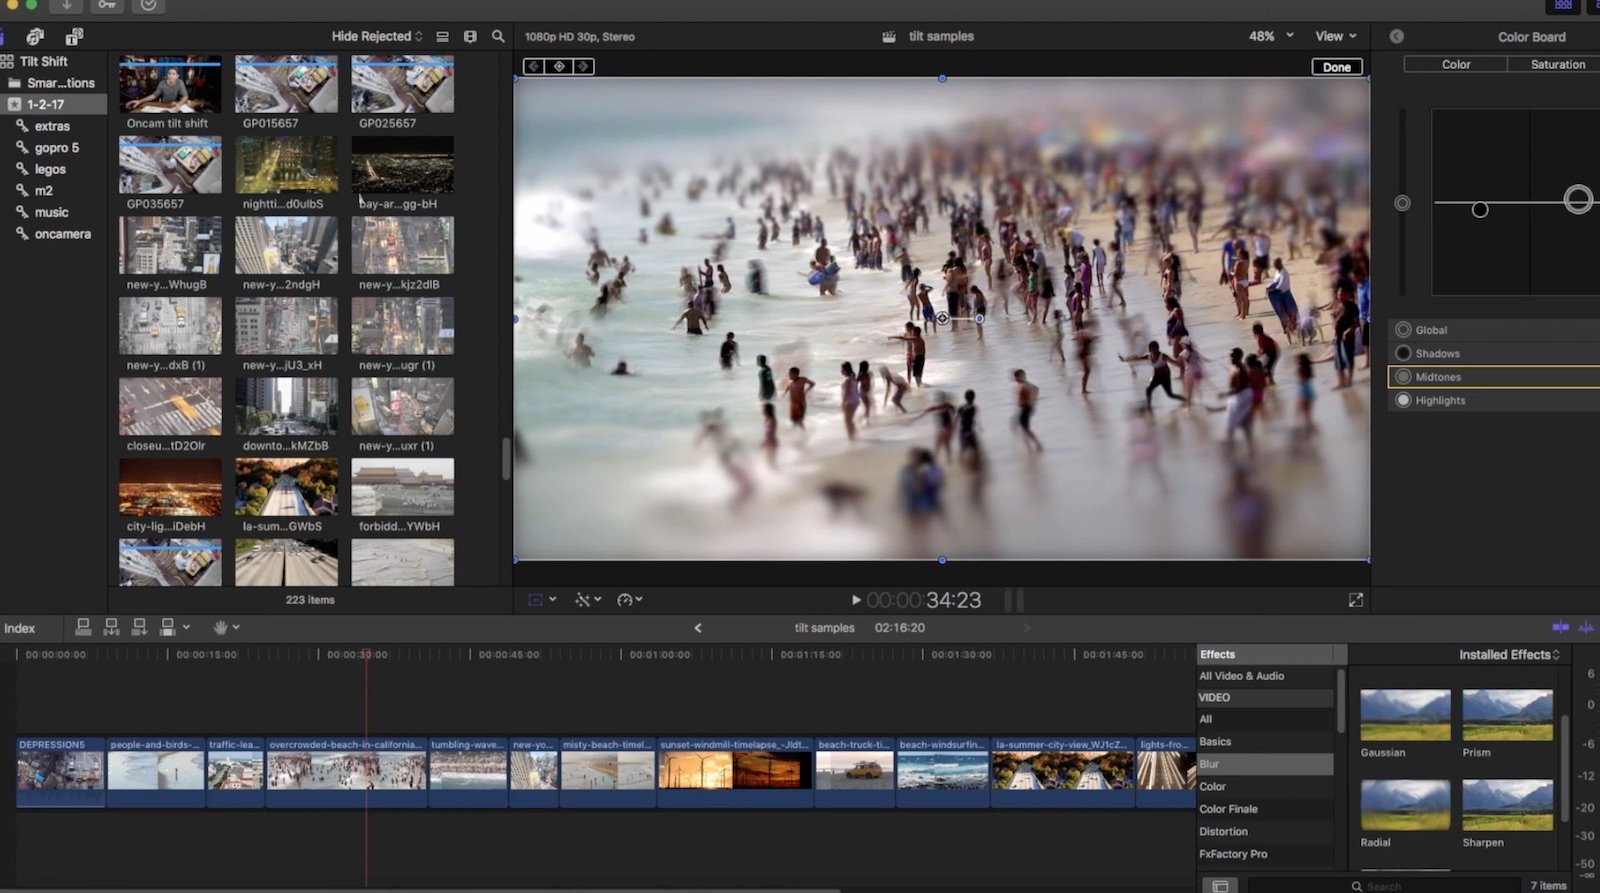
The tutorial is heavy on the post-processing step, showing you not just how to fake the miniature effect by adding a blur, but also adding in some grain and increasing saturation so you can “trick” your viewers into seeing the result as a miniature world and not just a regular image with blur attached.
Those last bits aren’t often mentioned, but Rob makes a good point: you’re trying to make it look like this is a scale model, and we’re used to scale models (toys in general) being colorful and vibrant, not dull and muted like our world often is. Ignore this advice at your own peril.
Finally, Rob touches on some “best practices” and highlight when this effect will work and when faking it in post will look… well… fake.
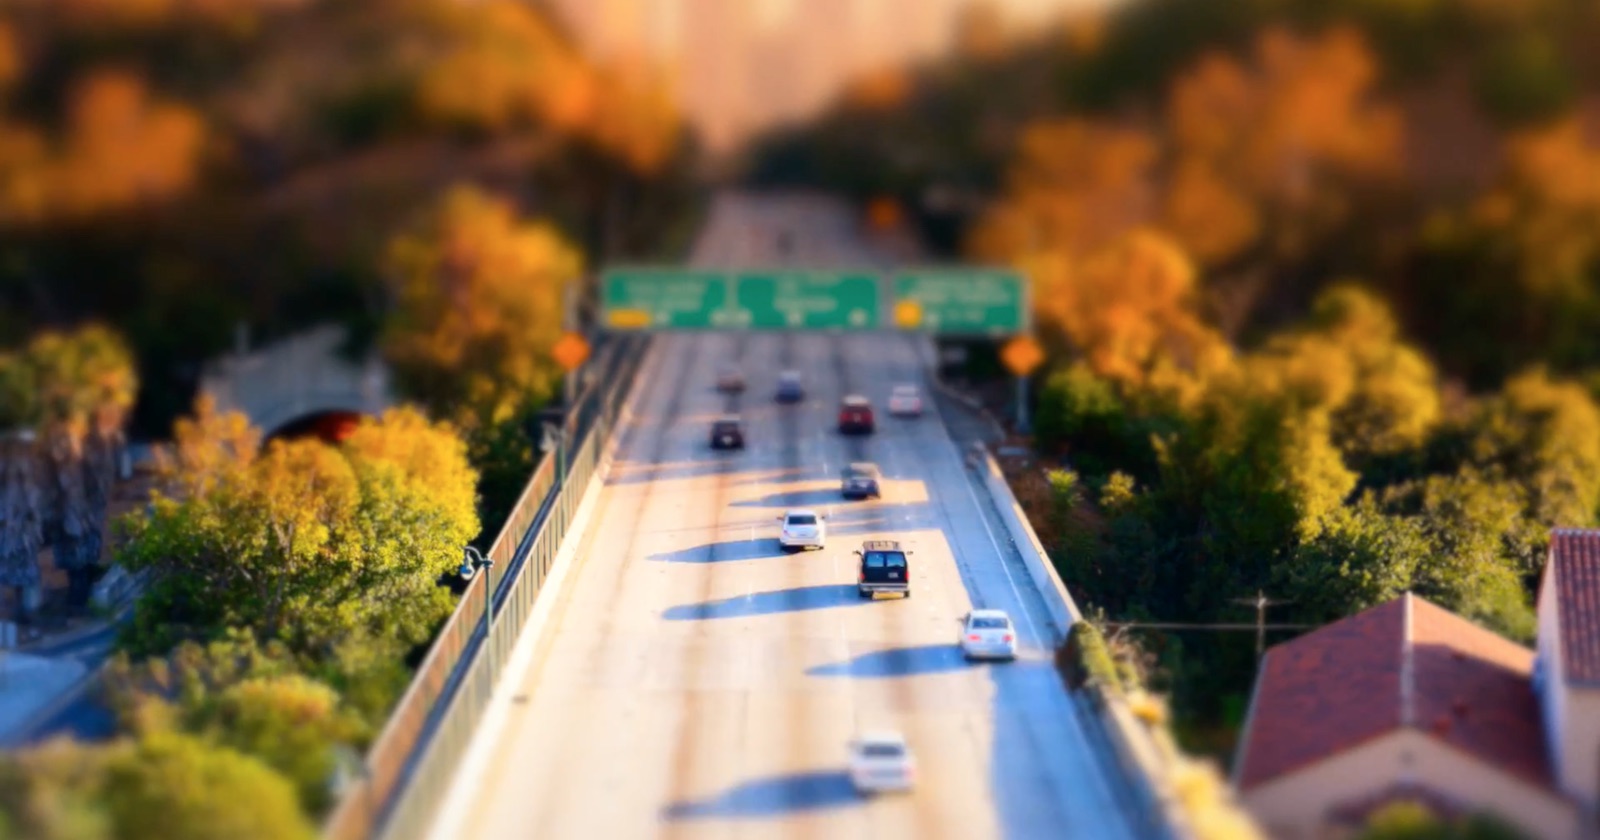
Check out the full video up top to see the process explained from start to finish. And if you need some more inspiration to go out and create your own tilt-shift effect timelapse, watch these two top-notch examples from the PetaPixel archives.
(via ISO 1200)


