

Making local adjustments in Lightroom can be a great way to bring attention to a specific part of your image, but they lack an opacity slider to retroactively change the strength of the effect. This 4-minute video shows you how to tweak the impact of your adjustments after they’ve been applied.
This trick, explained in the video by Anthony Morganti, is yet another case where holding the Alt (PC) / Option (Mac) key can reveal hidden features.
You have probably noticed that after applying a local adjustment using either the Graduated Filter, Radial Filter, or Brush, you can hover over the central ‘pin’ to see the mask overlay.
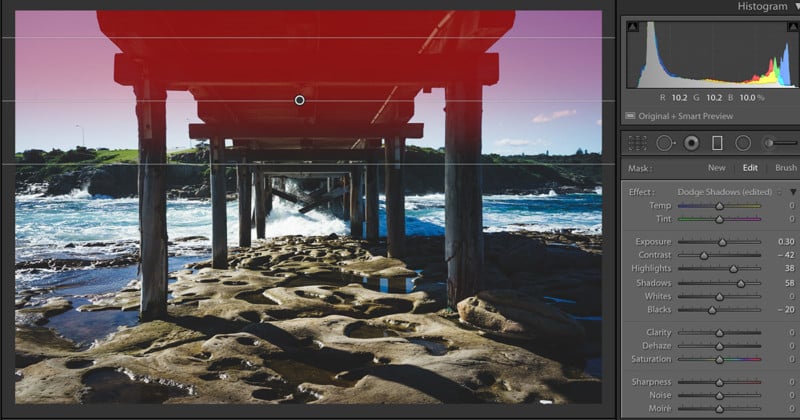
What you may not have known is that you can hold Alt/Option, and then click and drag left/right on the pin. By dragging to the right, all of the adjustments with positive values will be increased, and all of the adjustments with negative values will be decreased. Basically, this increases the effect of the local adjustment. By dragging to the left, the opposite will occur.
It’s another handy trick that is very well hidden away, and can save the effort of going in and manually adjusting each slider. Hopefully this will speed up your work in Lightroom just that little bit extra!
(via Anthony Morganti via Fstoppers)


