

Arriving in Kyoto, I am holding onto Fujifilm’s X-T20 pre-production unit #48. I’ve had it for 3 months now and, to be honest, it competes for attention with the other cameras in my dry-box, all of them waiting for their turns to come out and play.
Mostly in a hurry, I would grab the Fujifilm X70 for daily use and for its familiarity.
It was only when I started packing for a work-holiday to Japan that it occurred to me to carry the X-T20 as my sole camera body. It is small, it has all the quick dials on top like the X-T2 and film cameras, and the lenses can be swapped out—which means I get to shoot on primes.
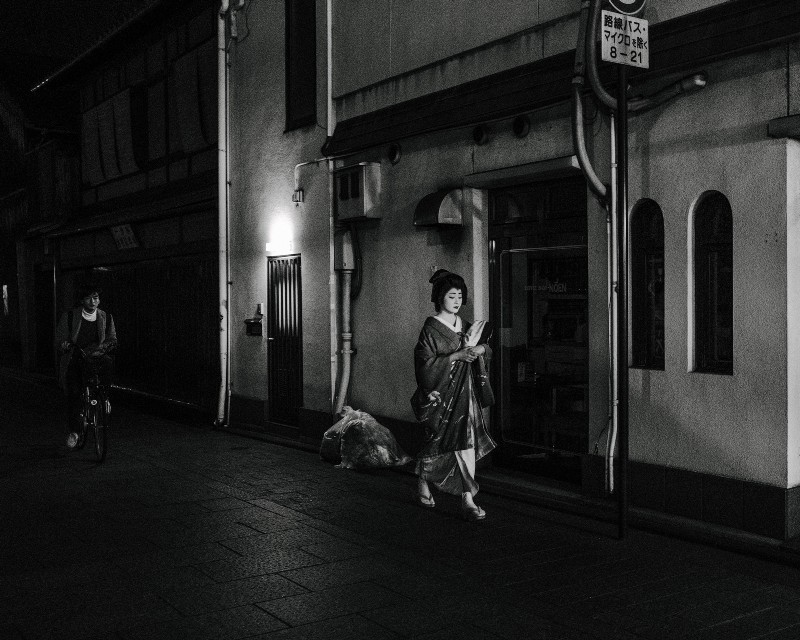
For an enjoyable two-week trip, the kit had to be light enough for long hours of carry every day for 14 days. I shoot mostly people on the street, what you call street photography. But because anything can happen on such a long holiday, the kit had to be versatile enough for all possible conditions—intense sunlight, gloomy alleys, and also Maiko hunting in Gion.
Touchscreen Addiction
The X-T20 started growing quickly on me once I used the touch screen as a viewfinder, instead of looking through the EVF. I’m so spoiled by the large X-T2 Evf that switching between the two takes a bit of getting used to…
Once I started shooting solely with the XT20 in Kyoto, the camera really came into its own! Give yourself a few hours on the street to get a good feel of how the touchscreen responds and you’ll become a master soon.
With the touch-screen on shooting mode, you can:
- Touch for Auto-focus
- Touch for Area
- Touch for Shot
Touch for Auto-focus replaces the joystick, which the X-T2 has but the X-T20 doesn’t. Instead of using the joystick to indicate your focus-point, you use your finger to speak directly to the camera. Touch the screen to give instructions where you want it to focus.
You can then use your right hand to press the shutter button: half click to lock your focus point, full click to trigger your shot.
Touch for Area is basically focusing on an area instead of a single point. You can also choose the size of your area by pressing the selector button (left, right, up, down), then turning the dial to increase or decrease area size.
Touch for Shot. This is an all-in-one button for lazy buggers. Once you touch the screen, the camera focuses at the spot you have touched. Once the shot is in focus, the camera takes a photo.
Obviously, since that’s quite a lot of things to command a camera to do, it’s also slower. Unless it’s still-life or a sitting portrait, your subject may have run off by the time the camera triggers. But the point is that it’s basically idiot-proof, anyone can handle this mode.
With the touch-screen on preview mode, you can also:
- Pinch to zoom in or out on your picture
- Double-tap to zoom in or out on your picture
- Swipe left or right to see your pictures
Think iPhone. Of course you can also turn the dial for the same effect, but I just love that the touchscreen does all of these as well.
It’s like playing the piano
Once you get your fingers accustomed to the touch-screen, jazz it up with those dials. I soon found my left fingers turning the aperture and left thumb on the touch-screen. My right fingers adjust the shutter speed, control the AF-lock and press the shutter button.
It’s like playing the piano: once you get a hang of it, all of your fingers are in sync with your mind and, soon, you’ll be jazzing things up.
If all else fails, there is the auto-switch button on the top right which has 58 built-in presets, which I found responds quite cleverly. See picture below.
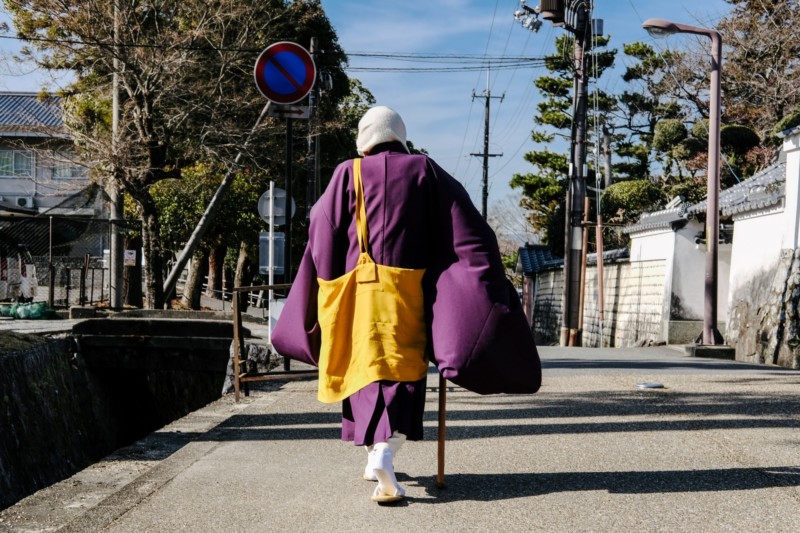
Full Auto
This man (above) was approaching as I had my camera pointed in a ditch—I was actually photographing the drain beside him in the dark shadows. If I recall correctly, I was trying to photograph some moss… Yeah… the moss in Japan is a different variety from that of Singapore’s, nice and delicate.
Then I saw this man from the corner of my eye; dressed in purple, sleeves flapping in the wind, he passed by me oh-so-quickly. Do not be fooled by the walking stick, he was in a real hurry and this speed was essential for the shot, otherwise his sleeves would not be flapping so wildly.
There was no time to switch from ISO 1600 to ISO100, which is essential when you go from shooting moss in the shadows to a flying man in the sun. Nor was there was enough time to switch from 1/60 still-life to 1/200 walking human.
So… I instead flicked the Auto switch and started running after the man.
The touch screen was on—all 3 inches of image preview—the live view was crystal clear, all that was left to be done was to compose and trigger the shutter at the right moment.
Shooting from the Hip
The touch-screen tilts, and if you’re not utilizing this, it would be a shame. The tilting screen basically turns me into a yoga master or gymnast, as some of my clients have commented: ‘you’re very nimble’, or ‘it was more enjoyable watching you shoot.’
I’m not entertainment but okay… if you think so.
What the touch screen tilt does is allow you to shoot top-down or bottom-up. It allows you to go higher then your arms outstretched, and lower than your knees can bear weight. It’s great for shooting lay-flat images like food shots for Instagram.
It also allows you to shoot from the hip.

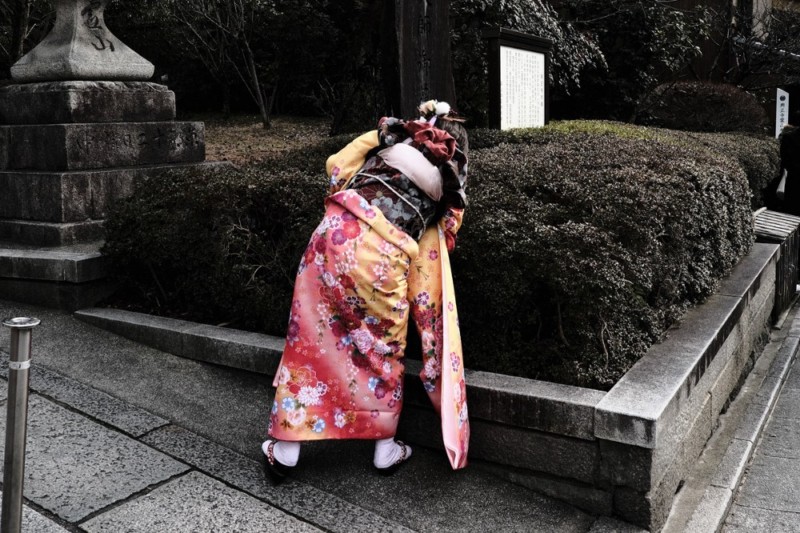
If you are shooting people with buildings or lines in the background that you want to get straight, you might have to bend your knees to lower yourself. Now you can tilt the screen to take advantage of all these different angles you’ve otherwise had to ‘guess’.
You can also use it to explore strange angles, or express your story better.
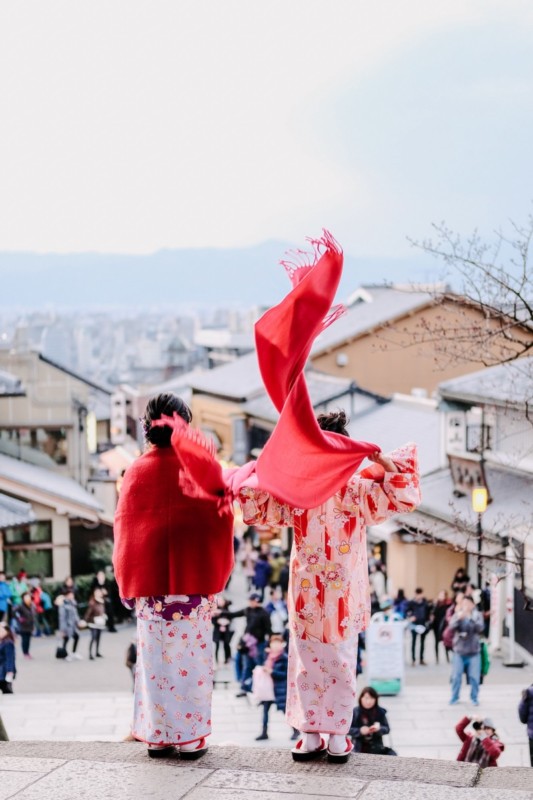
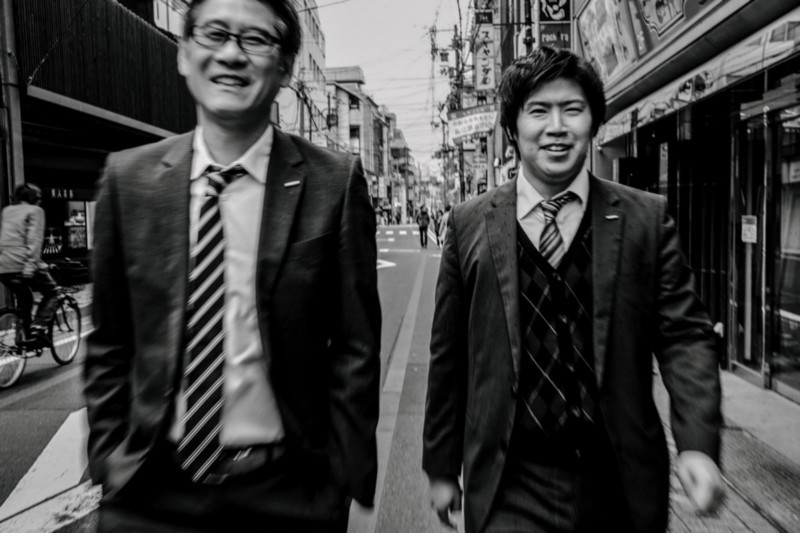
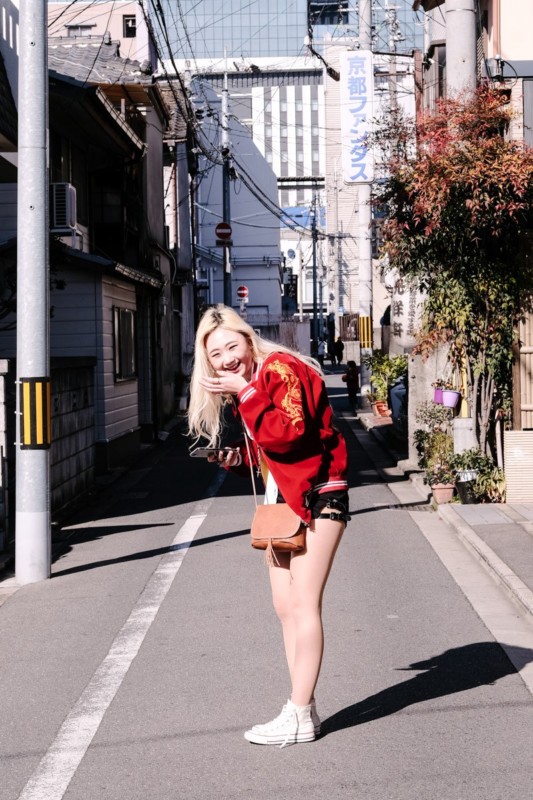
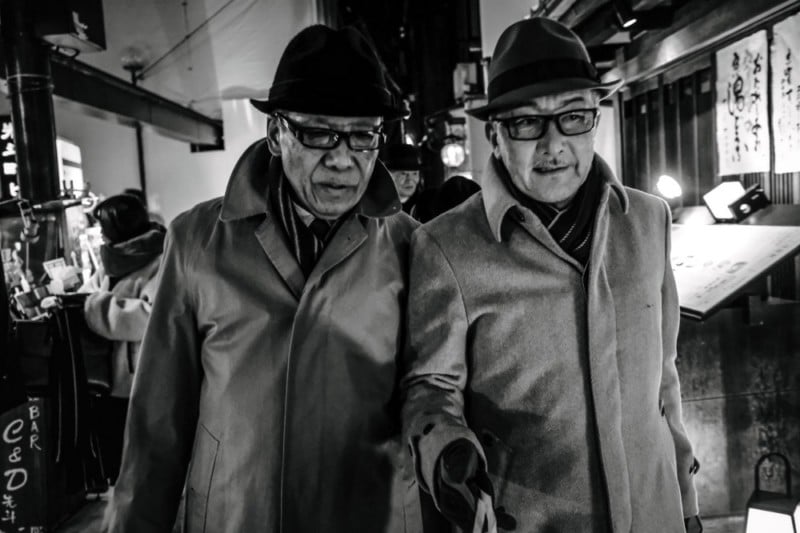
I’m basically shooting a lot faster than my usual pace with the touchscreen because its so addictive, I have to stop myself from snapping at everything I see. The slideshow above was deliberately prepared at a very fast pace ,filtering between day and night, almost accurately displayed in the sequence my trip happened, to give you an idea of my shoot-rate and the way I shoot. It’s a visual diary of my trip.
All the images were shot in JPEG, with very minimal post-processing. I used several modes of film simulations and controlled all sharpness and contrasts in-camera.
It really is a joy to be using cameras in this way that it becomes a part of your daily life, not something you deliberately try to protect, to guard, not something that keeps you on high alert all the time. K.I.S.S — Keep it simple, stupid.
If you’re Singaporean or from South East Asia, you’ll know that large chillies pack little punch. The smaller the chilli, the spicier it is. That’s exactly how I would describe the X-T20: a chilli padi. It’s a small camera that packs a big punch!
About the author: Mindy Tan is a documentary photographer based in Singapore. She is also a Fujifilm X-photographer. All the views expressed in this post are solely those of the author. To see more of Mindy’s work, follow her on Instagram here (street and documentary photography) and here (weddings and lifestyle). A version of this article was also published here.


