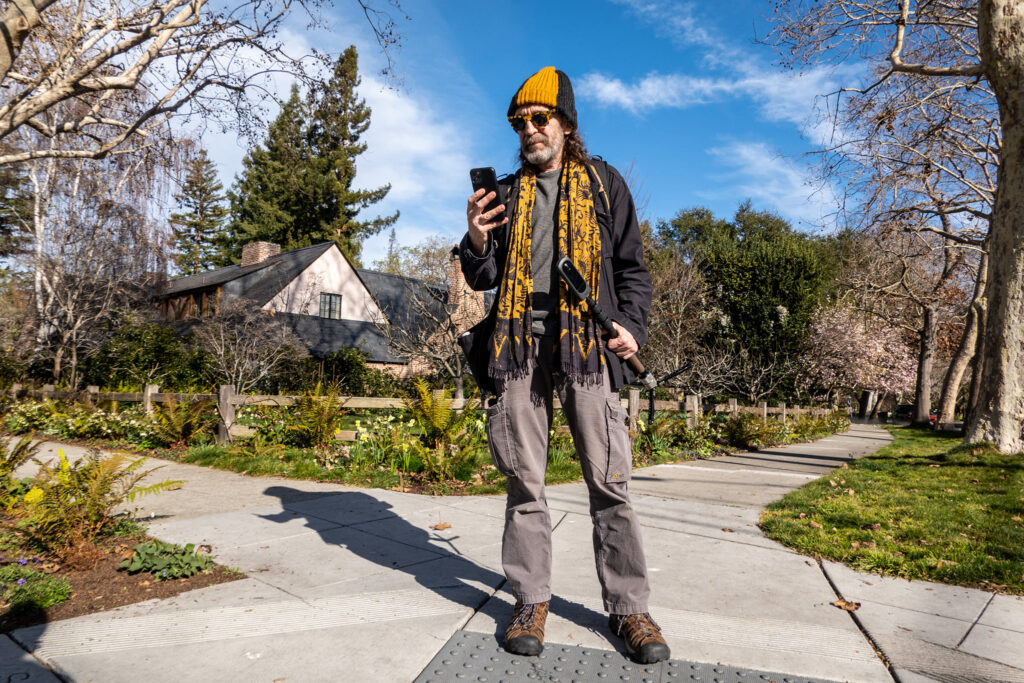
We recently sat down with 360-degree photography expert, Sam Rohn, to discuss the most efficient ways to shoot virtual tours using both the THETA X and THETA Z1.
THETA Z1
How To Prepare for Shooting a Virtual Tour
Shooting timing
There’s a lot of planning and preparation that goes into Sam’s photoshoots as well as many details to consider before choosing a specific time and location for a shoot.
When it comes to picking the proper time to shoot, weather and natural lighting play a big role. Sam explained that everything is dependent on the way natural light is facing.
For example, when the sun is behind the building you are in, it will light up a good view such as a cityscape or a garden. If the sun is behind the view and shining in through the windows, it will bring light to the whole room as seen in his Quay Tower living room shot.
The Quay Tower, THETA Z1, HDR-DNG edited
He notes to be careful about a setting that is backlit as it can cause an image to lose certain details. A great shot depends on the time of day the sun hits the direction you are facing; therefore, it is important to schedule your shoot based around that.
East 31 St Apartment, THETA X HDR
With the AI image enhancement of RICOH360 Tours
Check the best lighting
Before arriving to a space, Sam likes to know which way the windows are facing and the specific time of day with the best light. He also recommends when choosing time and angle to shoot, it is important to ensure the size of the space, functionality of all light switches, and the cleanliness of a location before shoot day.
East 31 St Apartment, THETA X
Without lights
Check the space
If the shooting space is currently occupied by residents, the fastest way to get through the shoot is to make sure the occupants are not on the set at the time of your arrival. Make sure you also check that personal belongings that they may not want to be featured, such as family photos, are put away in advance.
Check belongings with cameras
When arriving at the set, Sam always makes sure to bring camera support, whether that be a monopod or a tripod, as well as lens cleaning cloths and a lens brush. He recommends cleaning the lens before every shot as it is easy for small hairs or dust particles to get in the way and appear in the photos. Another thing he never leaves behind is a USB power bank, which charges his THETA X, THETA Z1, and his iPhone.
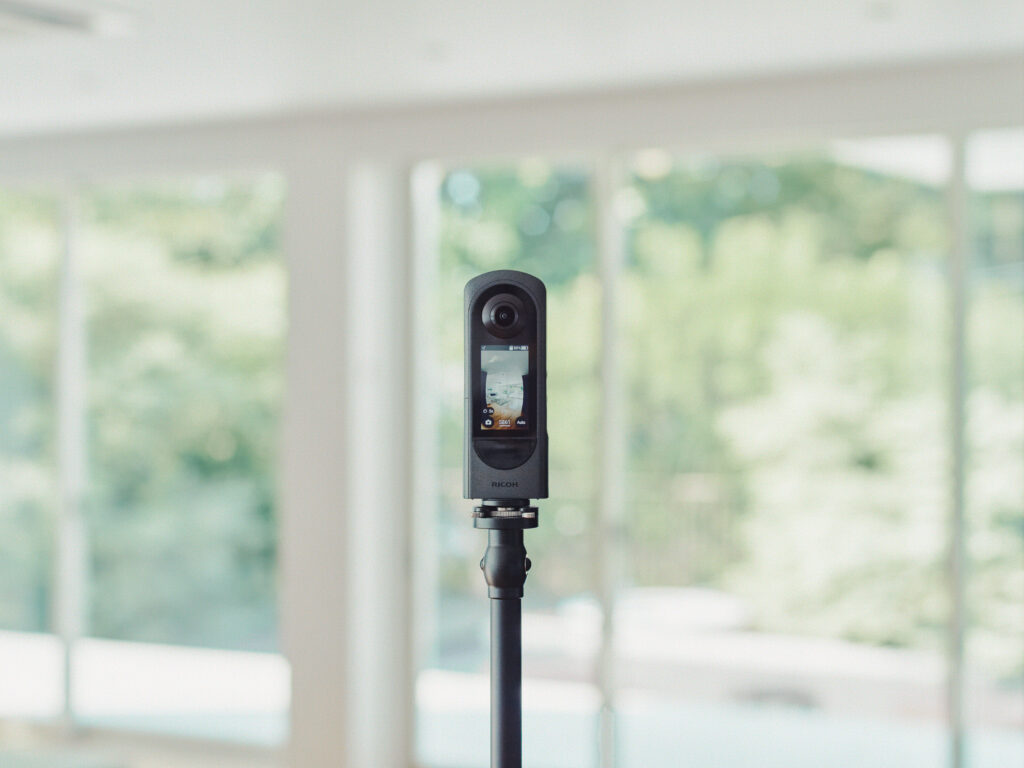
THETA X
Differences Between Shooting on the THETA X and THETA Z1
Although Sam easily goes back and forth between both camera models, he notes that the THETA X is better for the ease of use with its touch screen.
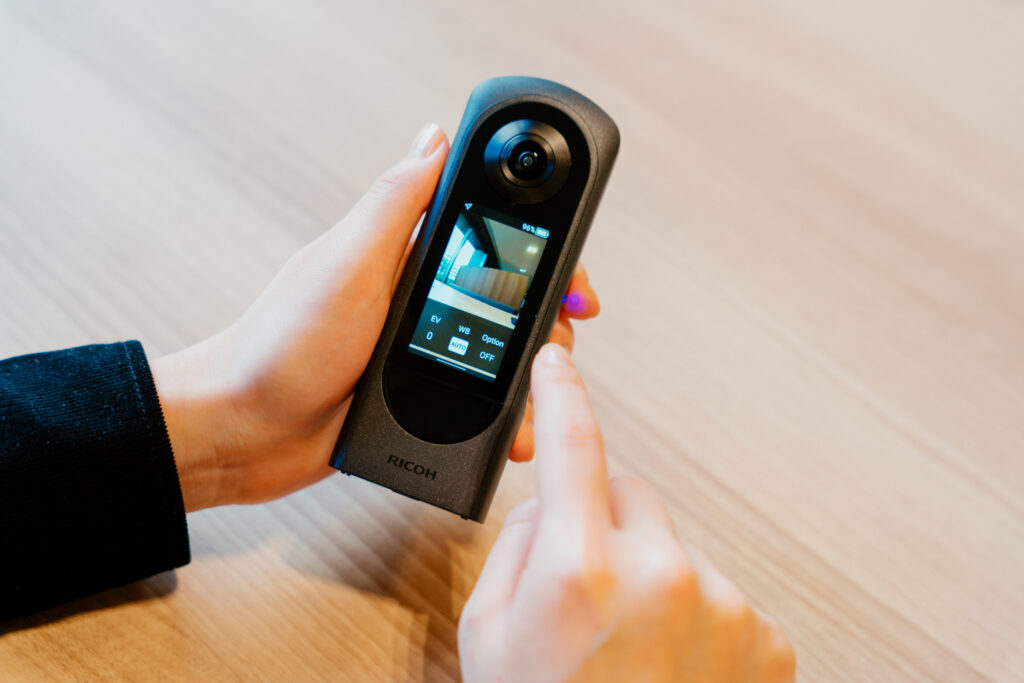
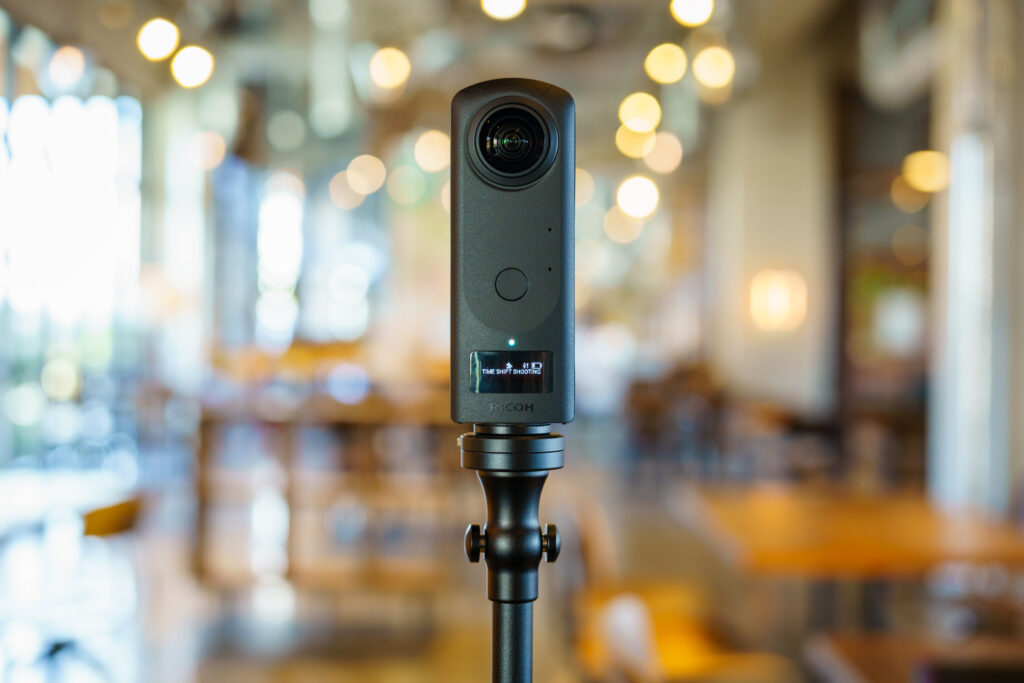
He describes the THETA Z1 as having excellent results in most circumstances as well, especially shooting by DualFisheye RAW Plugin.
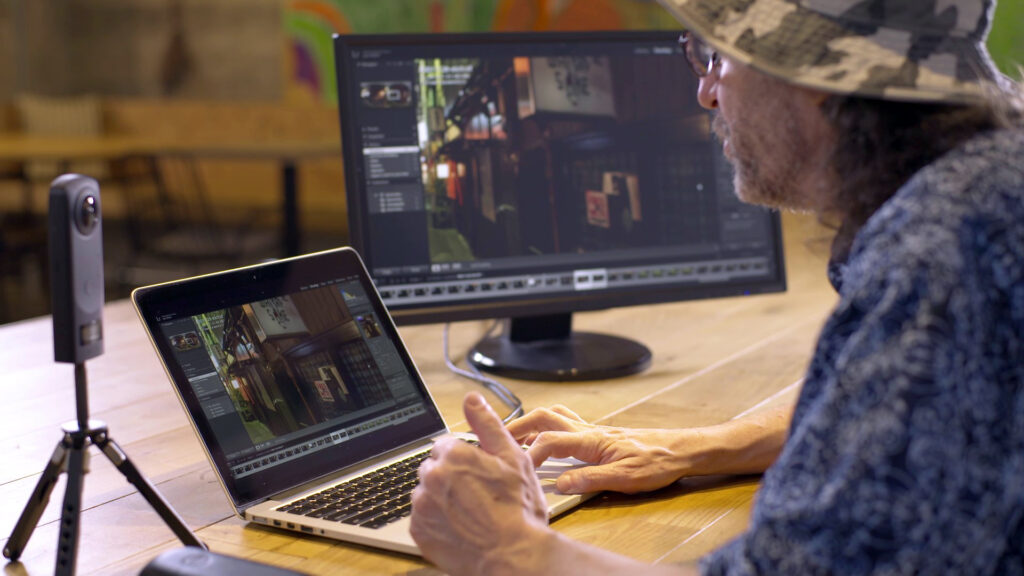

Where and How to Start Shooting
Sam likes to start a photoshoot in a place that gives the best insight into the entirety of a space. In the case of The Quay Tower and the East 31st Street apartment, this spot was in the living room. Because it was a large room, Sam shot in several different points and then chose the photo that best captures the continuity of the area.
The Quay Tower, THETA Z1, HDR-DNG edited
Prior to leaving a shot, he recommends always checking the images in order to be aware of any potential stitching errors or lens dust interferences.
Virtual Tour Services
Sam prefers to build his own online tours through the krpano platform as it gives him more fine control over presentation and hosting. However, for those who may not be skilled in certain areas of coding, he notes that platforms such as 3DVista, Kuula, CloudPano, and RICOH360 Tours can help to ease the process.
Various factors such as the client’s needs or the number of tours captured will determine whether a virtual tour service is used or if it can be built on your own.
Let’s try shooting and creating virtual tours with RICOH THETA !