

There are 27 different blending modes in Photoshop, and unless you’re a real retouching junkie, chances are good you haven’t explored each and every one of them in detail. But have no fear, to paraphrase an old Apple ad, “there’s a [YouTube tutorial] for that.”
Jesus Ramirez of the Photoshop Training Channel has put together a comprehensive video walkthrough of all 27 blending modes in Photoshop. This is an indispensable resource for retouching beginners, and will probably come in very useful for almost anybody who uses Photoshop.
Ramirez isn’t shy about how comprehensive this guide is: he calls it “the last blending modes guide you will ever need,” and we’re tempted to agree with him. In 41 minutes he dives into each mode, explaining how it works and how to use it. We’ll give you a very basic breakdown below, but we highly suggest you click play on the video above for a deeper dive.
Finally, you can go even deeper in Ramirez’ full Mastering Color course that this video is pulled from.
Blending modes, in case you don’t know, take the pixels of a selected blend layer and “blend” them in a specific way with the pixels of some base layer. There are 27 layer blending modes in all, plus 2 more that are only available on the paint tools, and 1 more for layer groups.
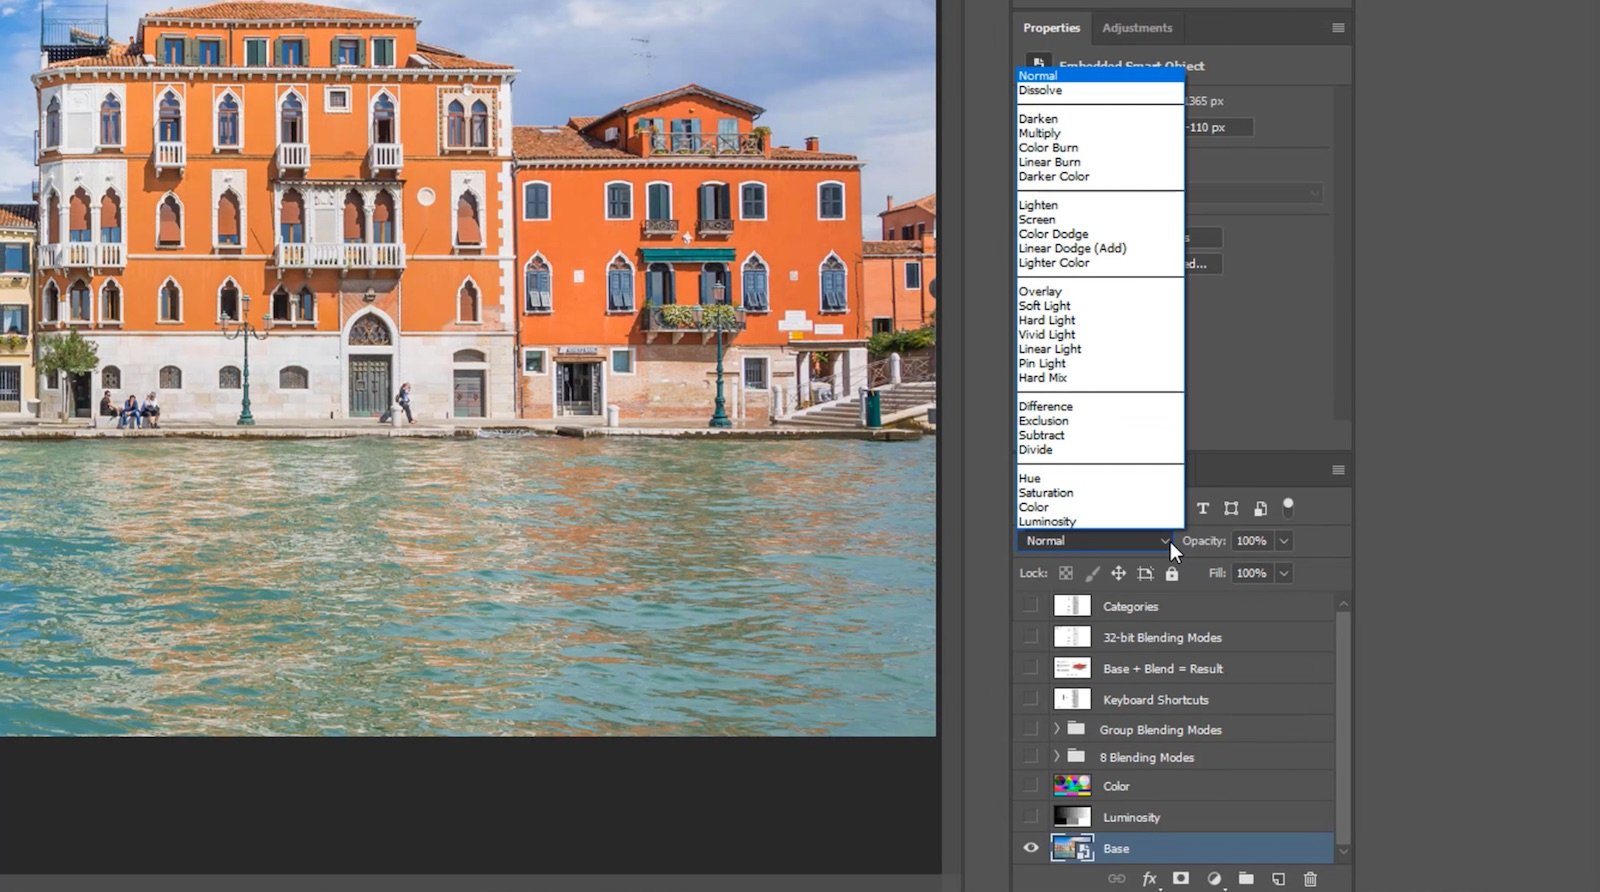
For this tutorial Ramirez focused on the 27 main modes, found in the Layers panel to the left of Opacity. We’ll cover the 6 categories these 27 are contained in below, and let you dive deeper into each mode through the video:
1. Normal
This category contains the ‘Normal’ and ‘Dissolve’ blend modes, which are really misnomers because they do not blend pixels. These modes simply chose what to reveal based on opacity. Normal reduces the opacity of the blend layer all at once, while Dissolve reduces opacity of the blend layer in a “diffuse dither pattern” that looks like static.
2. Darken
The blend modes in this category leave the darkest pixels of the blend layer alone, while making the lighter pixels translucent. White pixels will disappear entirely, and the darker the pixel in the blend layer, the greater its darkening effect on the base layer.
3. Lighten
This category is essentially the exact opposite of the Darken category. Dark pixels will become translucent while lighter pixels will exert an ever greater ‘lightening’ effect on the base layer.
4. Contrast
The blending modes in this category use complementary blending modes to create contrast by lightening and darkening the base layer. Colors that are lighter than 50% gray will be brightened with a lightening blending mode, while colors that are darker than 50% gray will be darkened with a … you guessed it … darkening blending mode.
All of the blending modes in Contrast except Hard Mix turn 50% gray transparent.
5. Inversion
This category’s blend modes combine layers based on their differences.
The name of the blend mode gives a hint of what it will do. Difference sets the resulting pixel to the value of the difference between the blend layer pixel and the base layer pixel, Subtract subtracts blend layer pixel values from the base layer pixels, etc.
6. Component
The final blending category is Component. The blending modes in this category use different combinations of Hue, Saturation, and Luminosity to blend the base and blend layers.
As we mentioned above, you really want to watch this video to dive into each mode in detail. And if you like what you see, definitely check out more videos by Jesus and the Photoshop Training Channel on YouTube.


