

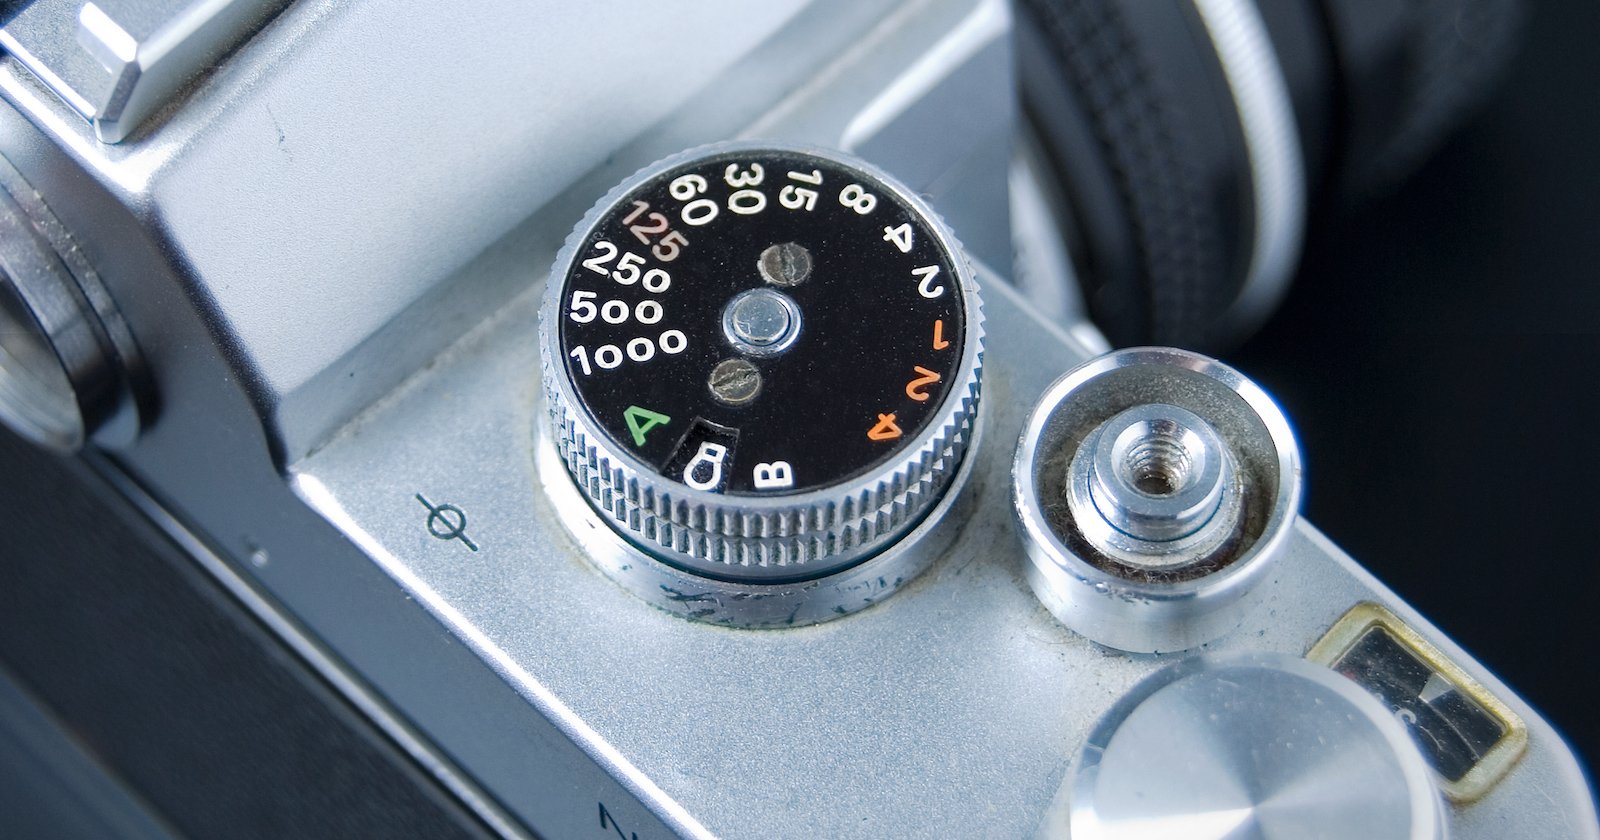
When we talk about the Shutter Speed in photography, the first thing that comes to mind is its relationship to Exposure. Shutter speed is an essential part of Exposure Triangle (Aperture, ISO, Shutter Speed) and it helps photographers to get perfectly exposed photos.
But my belief is that to understand and to master Shutter Speed for taking the perfectly exposed images is the easiest part of the equation. The more exciting, but at the same time more challenging, part is to learn how to use Shutter Speed as the artistic tool in our photography. By using different settings of Shutter Speed we can achieve some interesting effects.
The goal of Shutter Speed Chart is to summarize and illustrate the different aspects of Shutter Speed to help photographers to master Shutter Speed to get well-exposed photos and to embrace it as an artistic tool. You can download the full PDF version here.
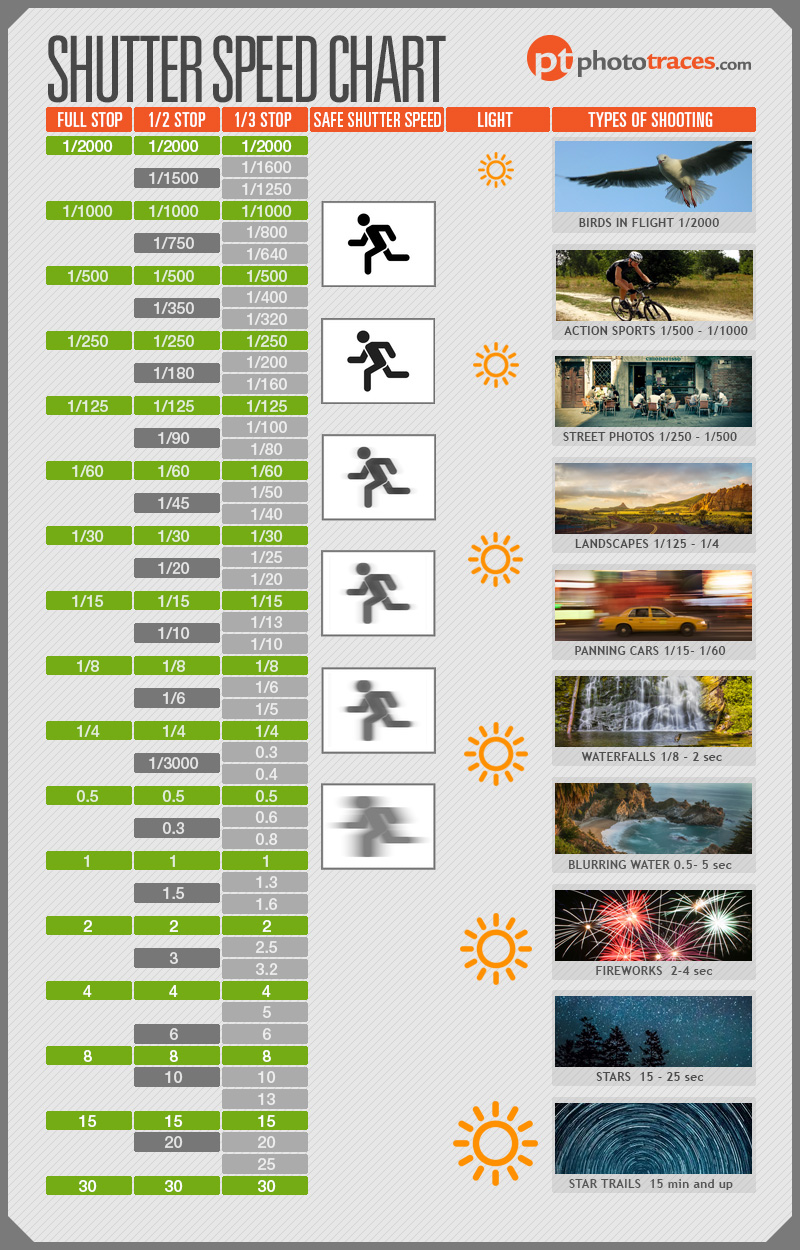
Full Stop, 1/2 Stop, 1/3 Stop
We all know that together with the Aperture and ISO, the Shutter Speed controls the exposure of your image.
And for a long time, it was a pretty simple and straightforward equation, by changing the shutter speed from 1/200s to 1/100s we double the amount of light (1 stop) that reaches the film or sensor. You keep shutter open twice longer you get twice the amount of light.
But with the introduction of digital cameras, we are not restricted to changing the shutter speed by one stop only. Some cameras allow us to change the shutter speed by half (1/2 stop) and some cameras by third (1/3 stop).
The shutter speed chart helps us to do exposure estimations and calculations easier.
Safe Shutter Speed
 When you have moving objects in your composition, it is paramount to use the right shutter speed in order to get sharp photos. The Safe Shutter Speed illustration let us visualize that by using the shutter speed slower than 1/100s we enter the potentially unsafe area with the regards to sharp photos goal.
Light

This is a simple illustration of correlation between shutter speed values and the amount the light reaching the camera’s sensor. The faster the shutter speed, the less light gets in; the longer the shutter speed, the more light gets in.
Shutter Speed Chart and Types of Shooting
This is what I call a Shutter Speed Cheat Sheet that helps photographers to use a shutter speed as the creative tool.
Birds in Flight 1/2000
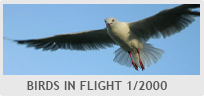 When wildlife photographers track and photograph a bird in flight, it requires an extreme shutter speed of 1/2000s to get the bird perfectly sharp. The variation of this technique is to reduce the shutter speed to 1/400s will result in a sharp body of the bird but blurry wings. This is a more creative approach wildlife photography.
Action Sports 1/500s – 1/1000s
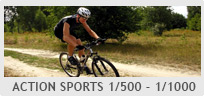 You probably do not need an extreme shutter speed when photographing a golfer putting on the green, but any sports that involve fast movements and actions will need special attention to shutter speed value. Photographing professional football game or your kids playing soccer will require shutter speed between 1/500s and 1/1000 to freeze the action and get sharp photos.
Street Photography 1/250 – 1/500
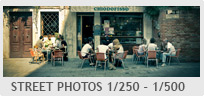 In general, when photographing street scenes, that scene is in constant motion. You have people walking towards you or crossing the street, cars moving and stopping, birds, bicycles, and more. The proper shutter speed is paramount, not only for getting the right exposure, but also for avoiding blurry or soft images.
Landscapes 1/125 – 1/4
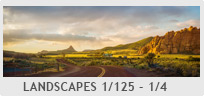 It’s hard to pinpoint the shutter speed range for landscapes because the techniques and the setting you use will vary greatly depending on if you’re shoot hand-held or on a tripod. The slower shutter speed of 1/8 or 1/4 is totally acceptable when using a tripod, but if you shoot hand-held, you need to reduce the value to get sharp photos.
Panning Cars 1/15 – 1/60
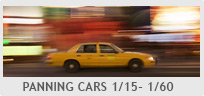 Planning is one of the most interesting creative techniques, and you need to know your shutter speed to do it. Using a longer shutter speed (1/15 -1/60) and tracking the moving object (car) when the shutter is open lets us create an effect where the main object is in focus while the environment around it is blurred.
Waterfalls or Fast Running Water 1/8 – 2 sec
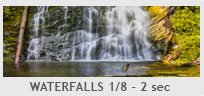 Here we are entering a more creative approach to photography in general, and shutter speed in particular. Photographing a fast running water with a longer shutter speed allows us to create a visual effect that does not exist in real life. You open up the shutter speed for a longer period of time and let moving water to create motion blur.
Blurring Water 0.5 – 5 sec
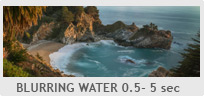 Blurring the water is a staple in seascape photography. Nothing makes a seascape look dreamier than a long exposure effect in the water. When photographing ‘the ocean, sea, lakes, and rivers where movement in the water is not very fast, you need a slower shutter speed value (compared to shooting the waterfalls) in order to create this silky and smooth effect in the water.
Fireworks 2-4 sec
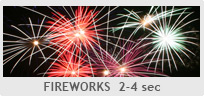 It is not easy to photograph fireworks—you’re shooting at night, in the dark, with bright lights popping up randomly all over the place. The logic here is to open the shutter speed long enough to capture the entire lifespan of the shoot, but be careful.
If you use a fast shutter speed and you will get a tiny unimpressive light in the vastness of the dark sky; if you use a shutter speed that’s too long, you will achieve only an overexposed, blurry, and unnatural effect. I find a shutter speed between 3 and 4 seconds works the best.
Stars (Astrophotography) 15-25 sec
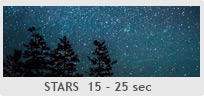 Shooting astrophotography allows us to capture things that are not visible to naked eye. By opening the shutter for a long period of time, we can amplify the dim lights of the stars into a full-blown celestial light show… but you need to strike a right balance.
If you use a fast shutter speed, the stars will be tiny and dim; but if you use a speed longer than 30 seconds, you’ll start to get a star trail effect thanks to the movement of Earth. A shutter value between 15 and 25 seconds will produce stars that are both sharp and bright.
Star Trails – One shot at 15 minutes, or multiple shots at 30 seconds
 This technique enables us to take advantage of steadily spinning Earth. If you open the shutter long enough, you can capture the trailing effect of the stars.
The traditional technique requires the shutter speed value of 15 minutes and longer. But with the digital workflow you can simulate the same trailing effect by taking series of photos, let say 120 of them, with 30 sec exposure and blending them together in Photoshop. In this way, you can create the effect of 60 min exposure without the noise this would otherwise create.
About the author: Viktor Elizarov is a travel photographer based in Montreal, Canada. He’s also the man behind PhotoTraces, a travel photography blog and community of over 60,000 photographers. Visit Tutorials section of his blog for free tutorials and free Lightroom presets. This post was also published here.
Image credits: Header image by Neurovelho.


