

There are a ton of options out there for building your own product photography lightbox, but this is one of the simplest and most functional creations we’ve seen. For under $50, you can build it for yourself.
The tutorial was created spur-of-the-moment by photographer Chris Kuga, who was asked for some product photography while visiting Napa Valley with one of his friends. They needed a lightbox, stat, so they headed to a hardware store and crafts store and were able to get everything they needed for $100. After a bit of thought, that shopping list was paired down to just $50 for this tutorial.
Here’s what you’ll need: white poster board, a large cardboard box, a couple of clip lamps, and some transparent paper or fabric. You’ll also need an xacto knife, some packing tape, and a sharpie.
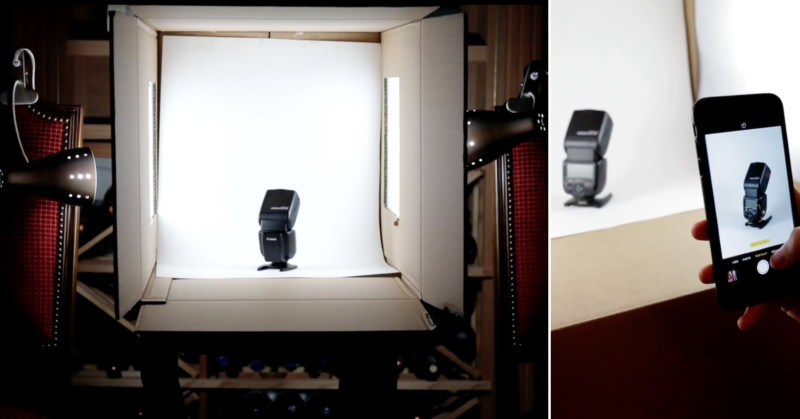
To build the lightbox, simply close up one end of the box, cut two squares out on either side and cover them with fabric, and then drape the poster board on the inside. Finally, place the lamps on either side of the box, outside of those fabric diffuser panels, and you’re done!
The lightbox drapes your product in nice, soft light that will work great whether you’re using a DSLR, point and shoot, or smartphone. Check out the full tutorial above to see how Kuga built his, and then check out this post to see how you can turn a simple lightbox like this into a 360° photo platform.


